
Create Your First A.I. Powered Image with Midjourney: A Simple Guide for Everyone

As we've seen with ChatGPT, A.I. technologies are becoming more accessible and mainstream. One area where A.I. is making a significant impact is in the image and picture creation. Midjourney is a fantastic tool that allows you to create A.I.-powered images by simply describing what you want. In just a few seconds, you can generate an image that might have taken professional graphic designer hours or days to create. Before jumping in, just want to mention there are other services to generate A.I. images such as Canva or Dall-E. I've just found Midjourney to be the best so far.
You don't need to be an expert to start using Midjourney. Here's a simple step-by-step guide to help anyone create their first A.I. image:
Step 1: Sign up for Discord. Midjourney works through Discord. Go to the Discord website (www.discord.com) and sign up for a free account. You'll be asked for your username, email address, and password.
Step 2: Download and install Discord. Download the Discord app for your device (Windows, macOS, iOS, or Android) and install it. Log in to your account.
Step 3: Join the Midjourney server. To access Midjourney, you need to join their server on Discord. Search for the "Midjourney" server or use an invite link provided by the Midjourney team. Once you find the server, click "Join."
Step 4: Familiarize yourself with the server. Explore the Midjourney server, and you'll find different channels dedicated to various topics and features. Locate any channel "newbies" where you can submit your image descriptions.
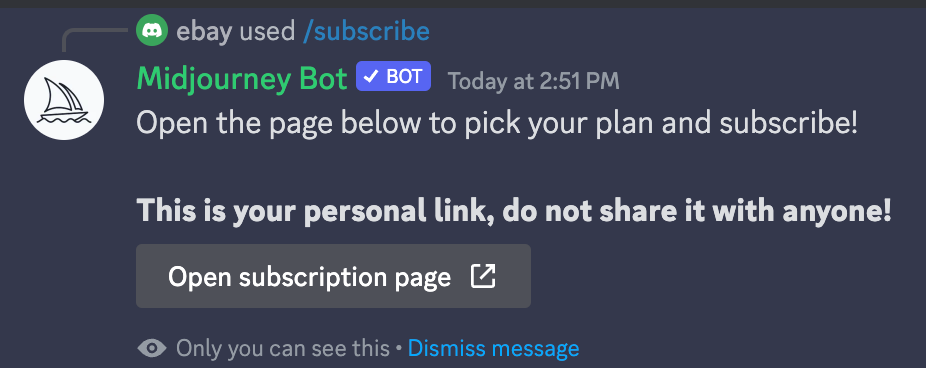
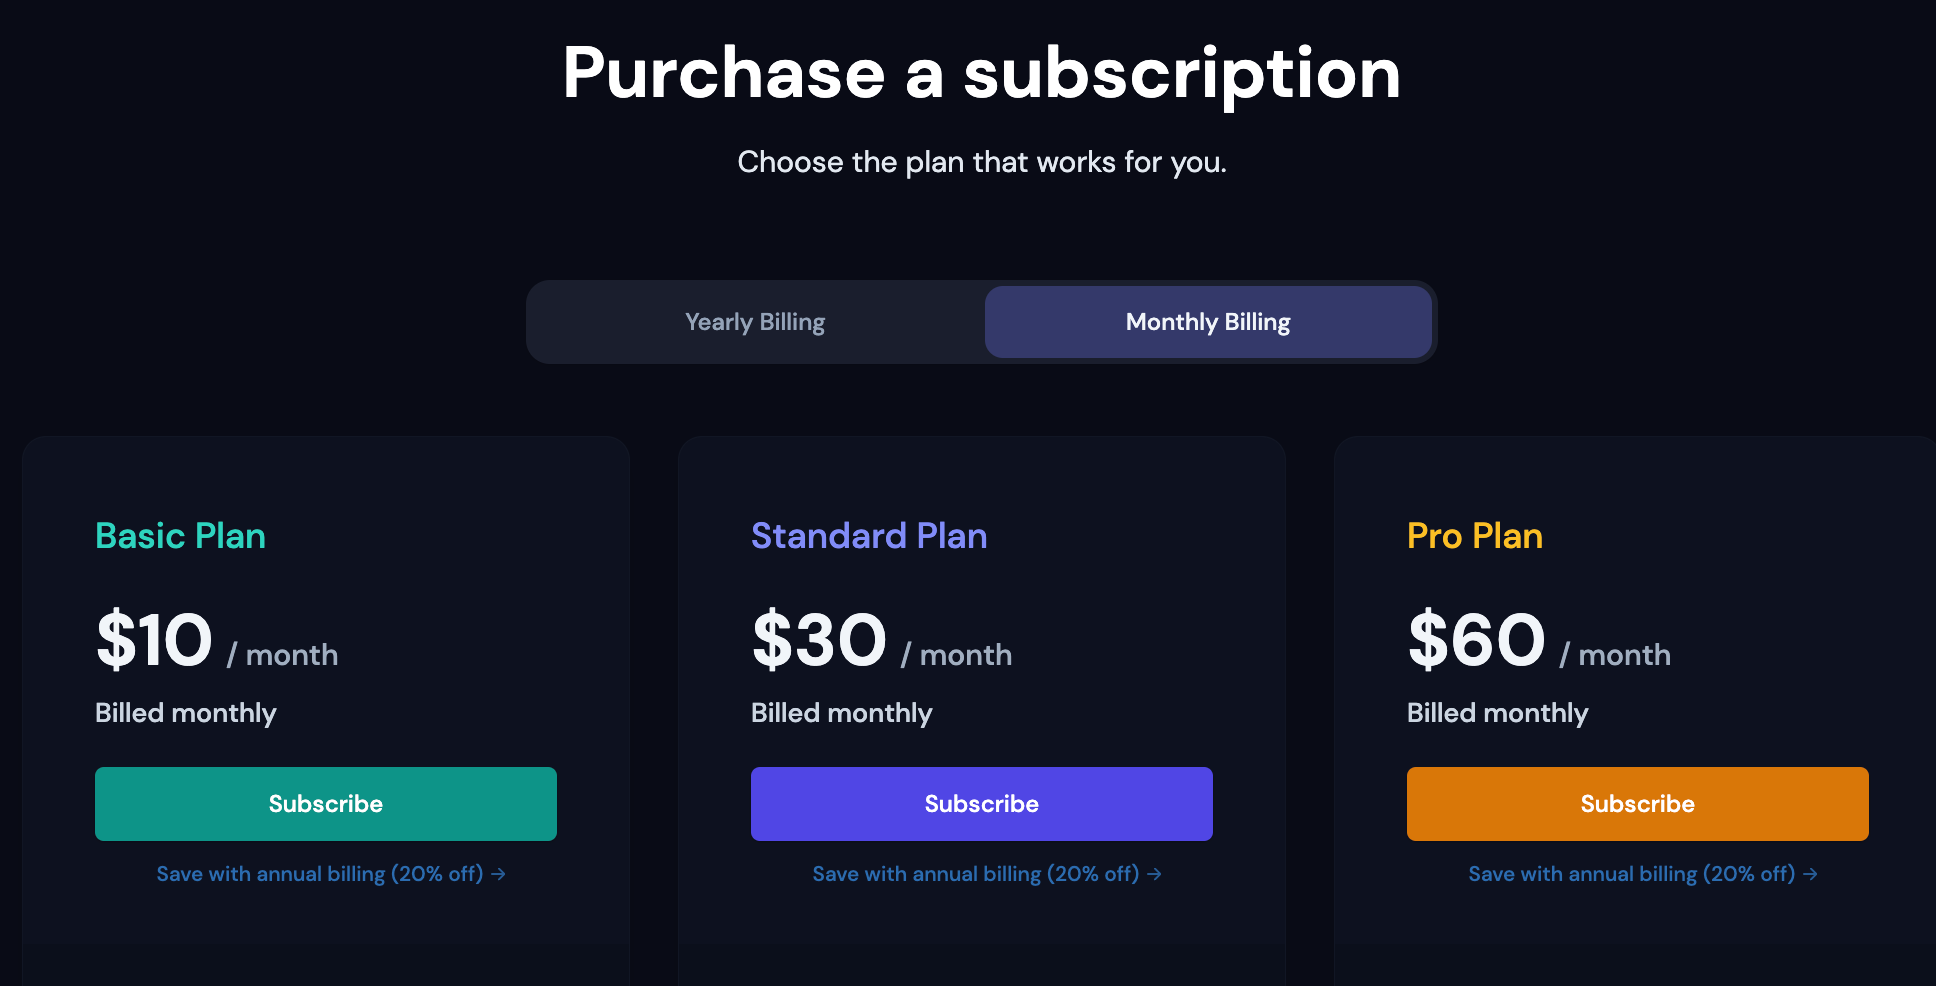
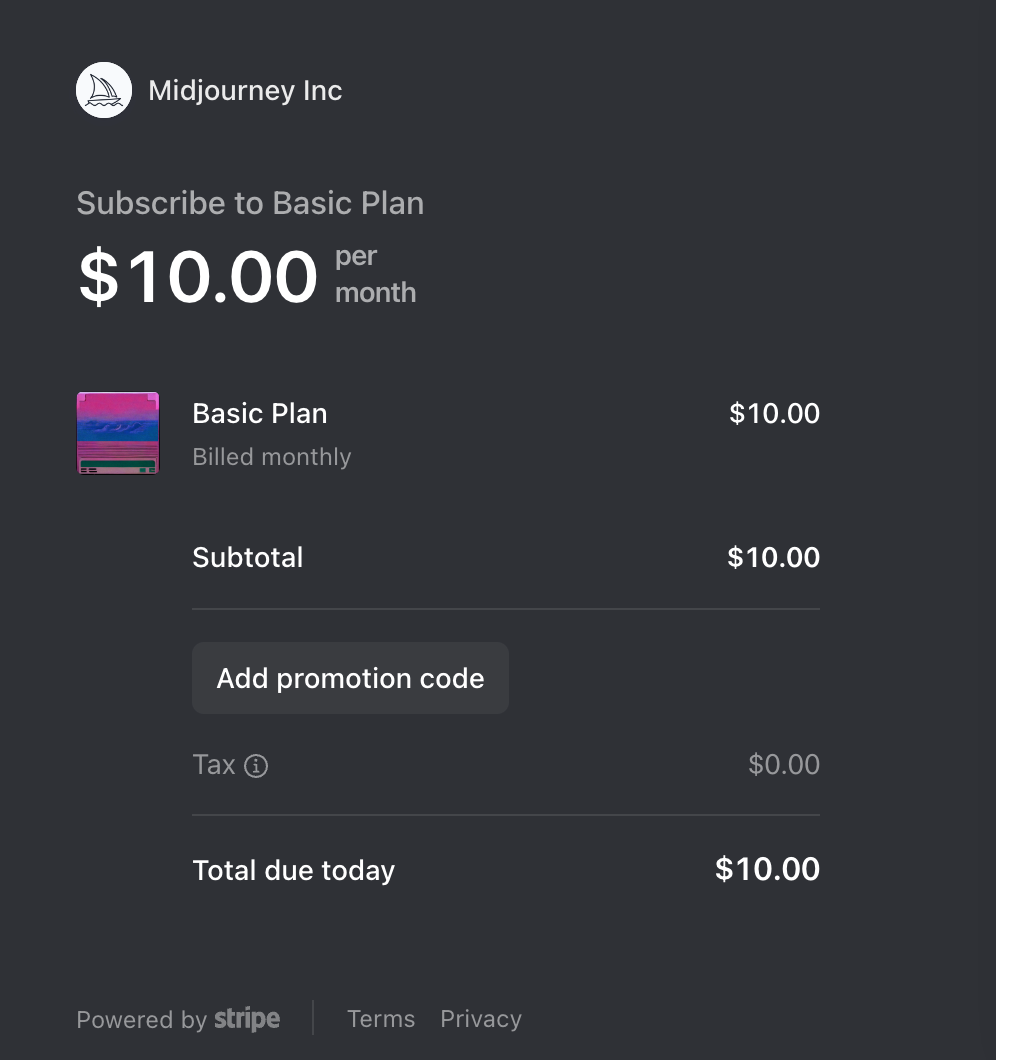
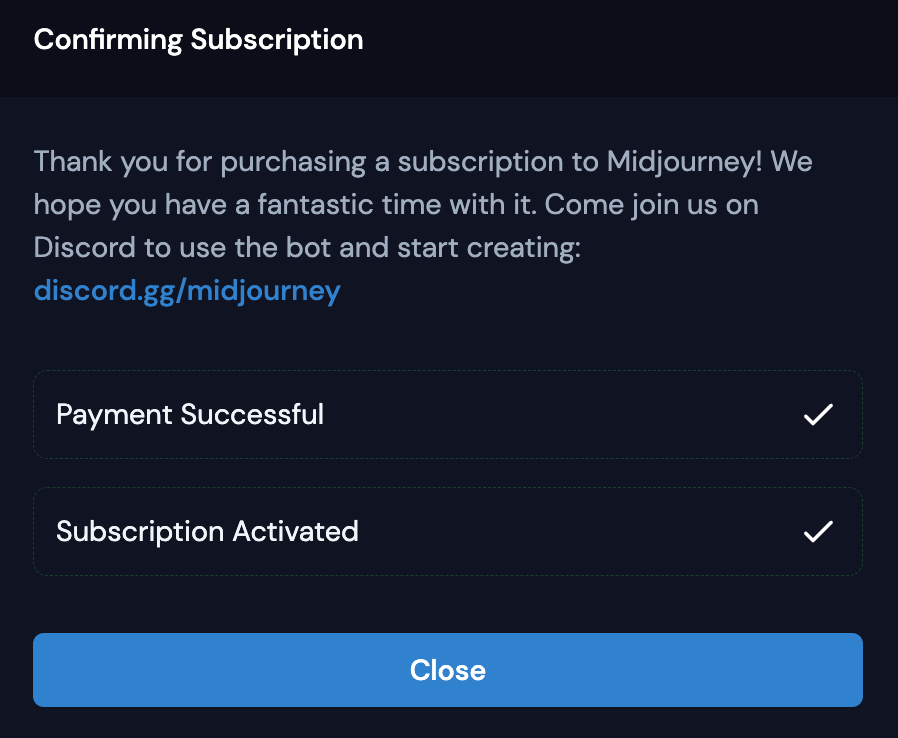
Step 5: Subscribe to Midjourney. Due to overwhelming demand, Midjourney now has a paywall. I'd suggest you subscribe to the most basic one. $10 USD for one month to try out.
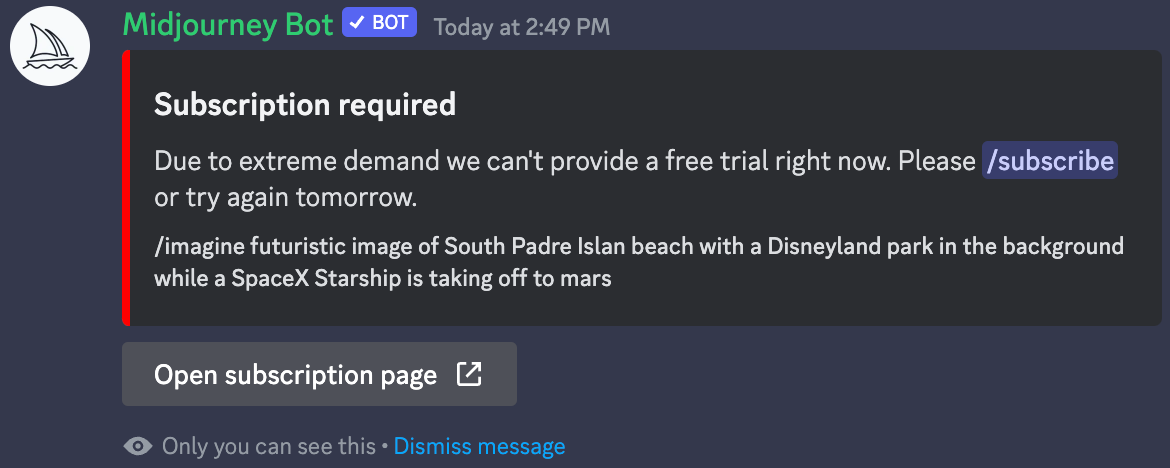
Step 5: Describe your desired image. In the designated channel, type a description of the image you have in mind. Be as specific or as abstract as you like. For example, you could type "a beautiful sunset over a calm ocean" or "A dreamy and fantastical photo of a Starship Rocket taking off from the beach, with a backdrop of the famous Disneyland castle."
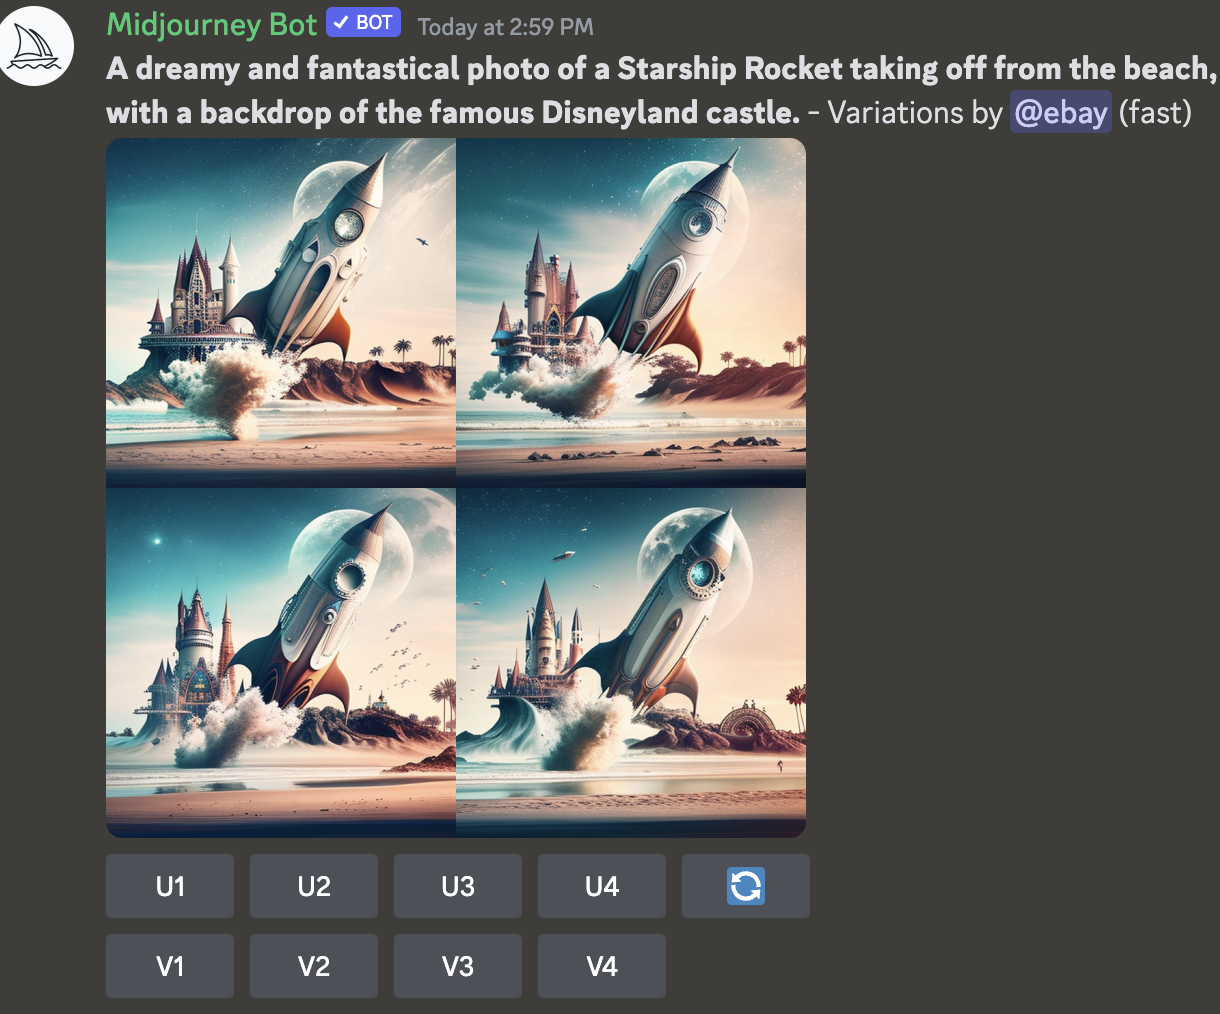
Step 6: Generate your image. After you submit your description, wait a few seconds for Midjourney's A.I. to work its magic. The A.I. will analyze your description and create a unique image based on your input. In this case, I asked for a variation of the bottom right image.
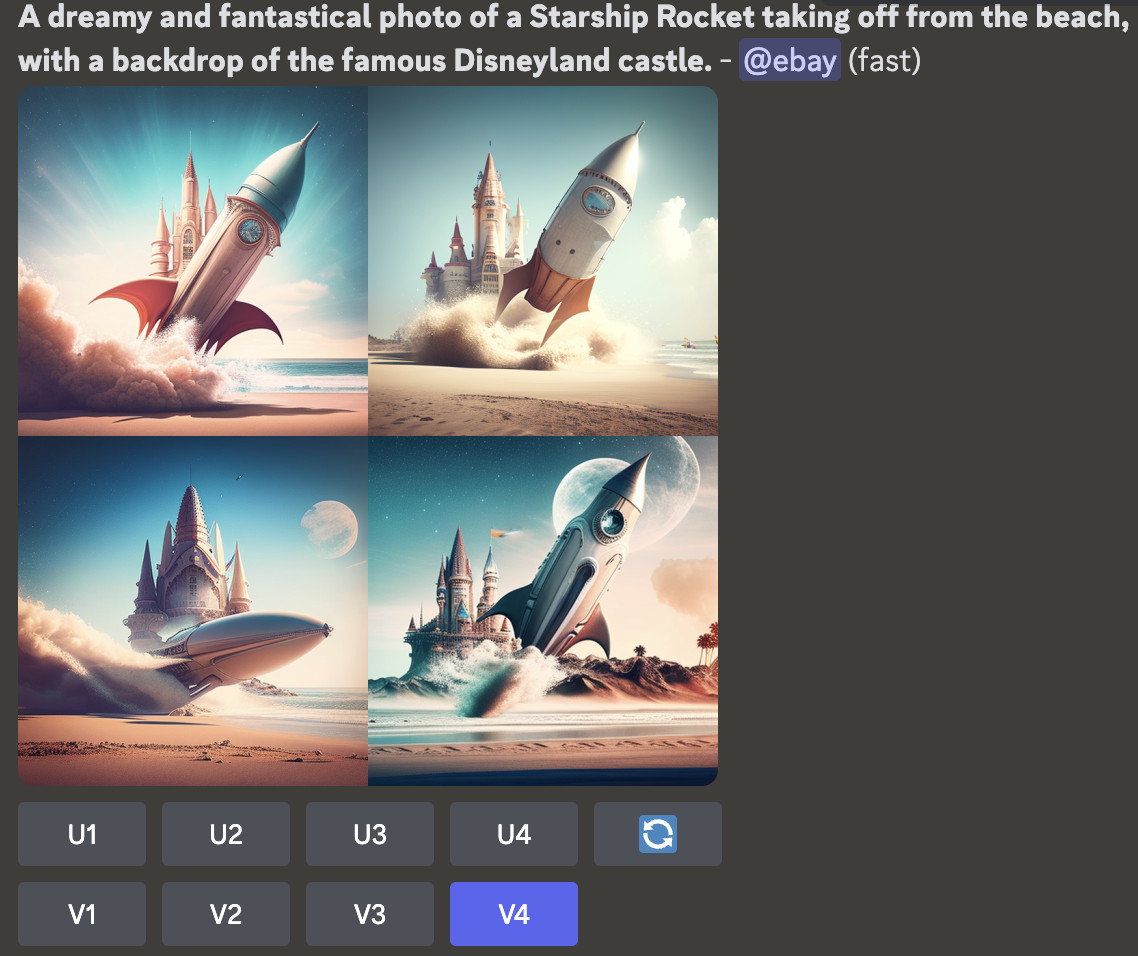
Step 7: Review your image. Once the image is generated, it will be posted on the channel. You have the option to upscale or have a variation of one of the images.
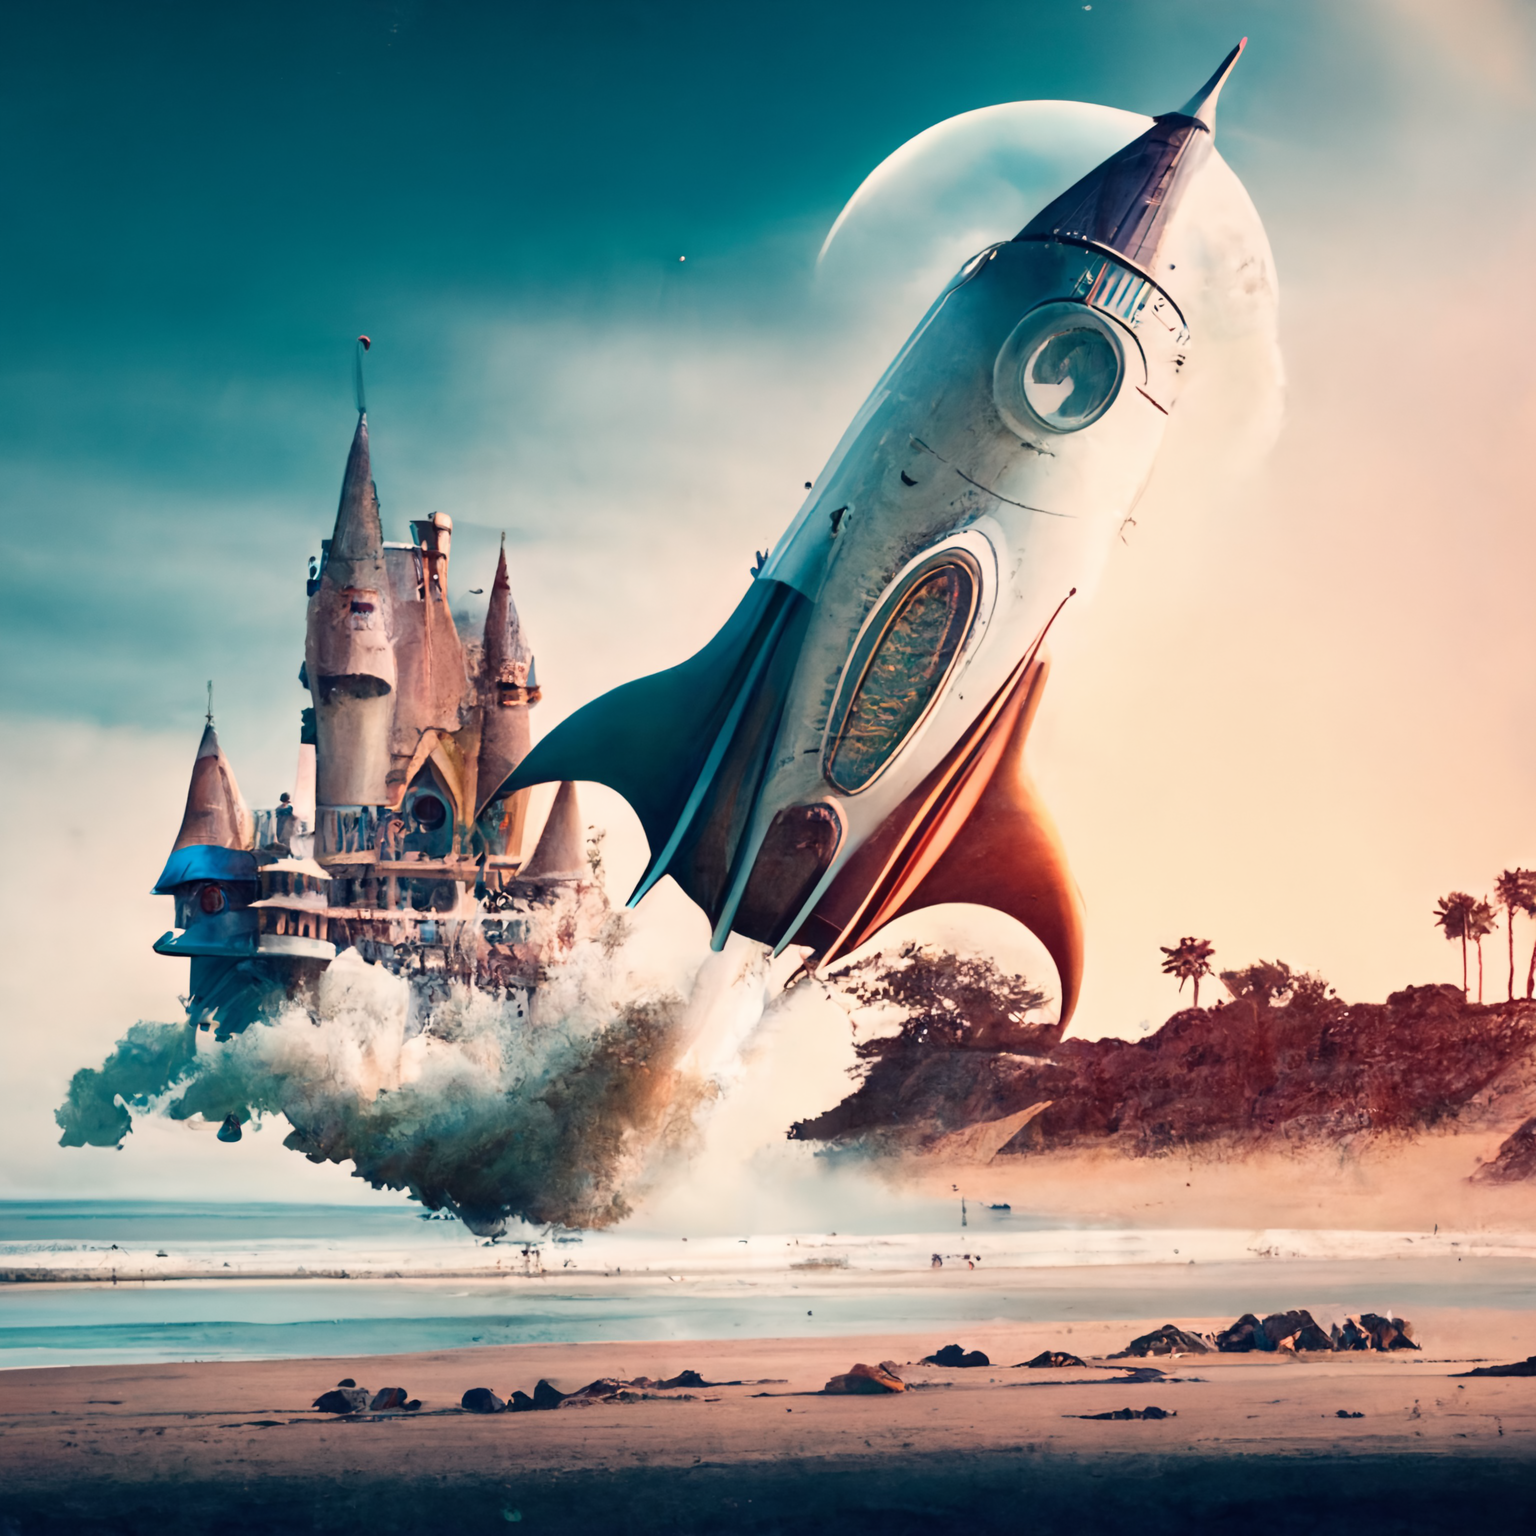
Step 8: Download If you're happy with the result, you can download the image by opening it in your browser and then saving it from there. If you want to try again or create a different image, just type a new description and submit it.
Step 9: Share your creation Show off your A.I.-generated masterpiece by sharing it with friends, family, or on social media!
Remember, this is just a basic guide to get you started with Midjourney through Discord. As you become more comfortable with the tool, you can dive deeper and explore its more advanced features. For now, enjoy my image.


Comments ()